Eating Oxford
On Cooking Southern: Amish Friendship Bread
Southernism of the Week:
On my last nerve: Whatever the circumstance or activity or person involved, it’s REALLY REALLY becoming aggravating to the speaker of this phrase. Think the constant, sniping replays of Congressional election ads… or Month 11 of keeping Friendship Bread starter alive.
AMISH FRIENDSHIP BREAD TAKES THE CAKE FOR YEAST STARTER
As readers know, for the past three weeks The Old Bride has been making the Triplette household better through food chemistry involving yeast.
We’ve gone through sourdough and some related yeast breads and rolls. And now it’s time to tackle Amish Friendship Bread, the “bread” that keeps on giving.
It has been called a gift and a curse, depending on which end of the never-ending 10-day cycle of feeding and maintaining and baking and sharing the recipient is engaged in surviving.
Almost three years ago, a dear friend shared some starter with me and I managed to keep it going for about eight months before throwing up my hands in exhaustion. So I let it die… killed it really … and happily enjoyed a full year munching on the friendship bread loaves I’d frozen previously.
But the Cosmos has a way of reminding us about consequences. Just prior to the 2013 Thanksgiving-Christmas holidays, another friend asked me to make some friendship bread for his family’s pending visit. He offered to PAY ME for the goodies. I am ashamed to tell youall that I tanked. My starter just wouldn’t start right, and the end results were dismal. I’m sure the bone-chilling weather contributed to my failure. Or perhaps it was kitchen karma paying me back. I totally flunked the assignment and have been guilt-ridden ever since for letting that original batch go to the great yeast cloud in the sky.
Well, now that warm weather is back in full force, The Old Bride has created a new batch of Amish Friendship Bread starter, and already shared it with Memphis Sally. Watch out, Oxford Sally, and everyone else. You, too, will be given the gift that keeps on giving.
Forget the mystique surrounding the starter for this recipe. It is easy when the ambient environment is favorable. The starter just needs care and warmth for the yeast to start fermenting properly. NOTE: I found it helpful to create a towel nest for the bowl of original starter and the subsequent bags of ongoing starter. All versions of this bread and starter call for using glass or ceramic crocks or bowls along with wooden spoons or silicone spatulas. Metal is verboten.
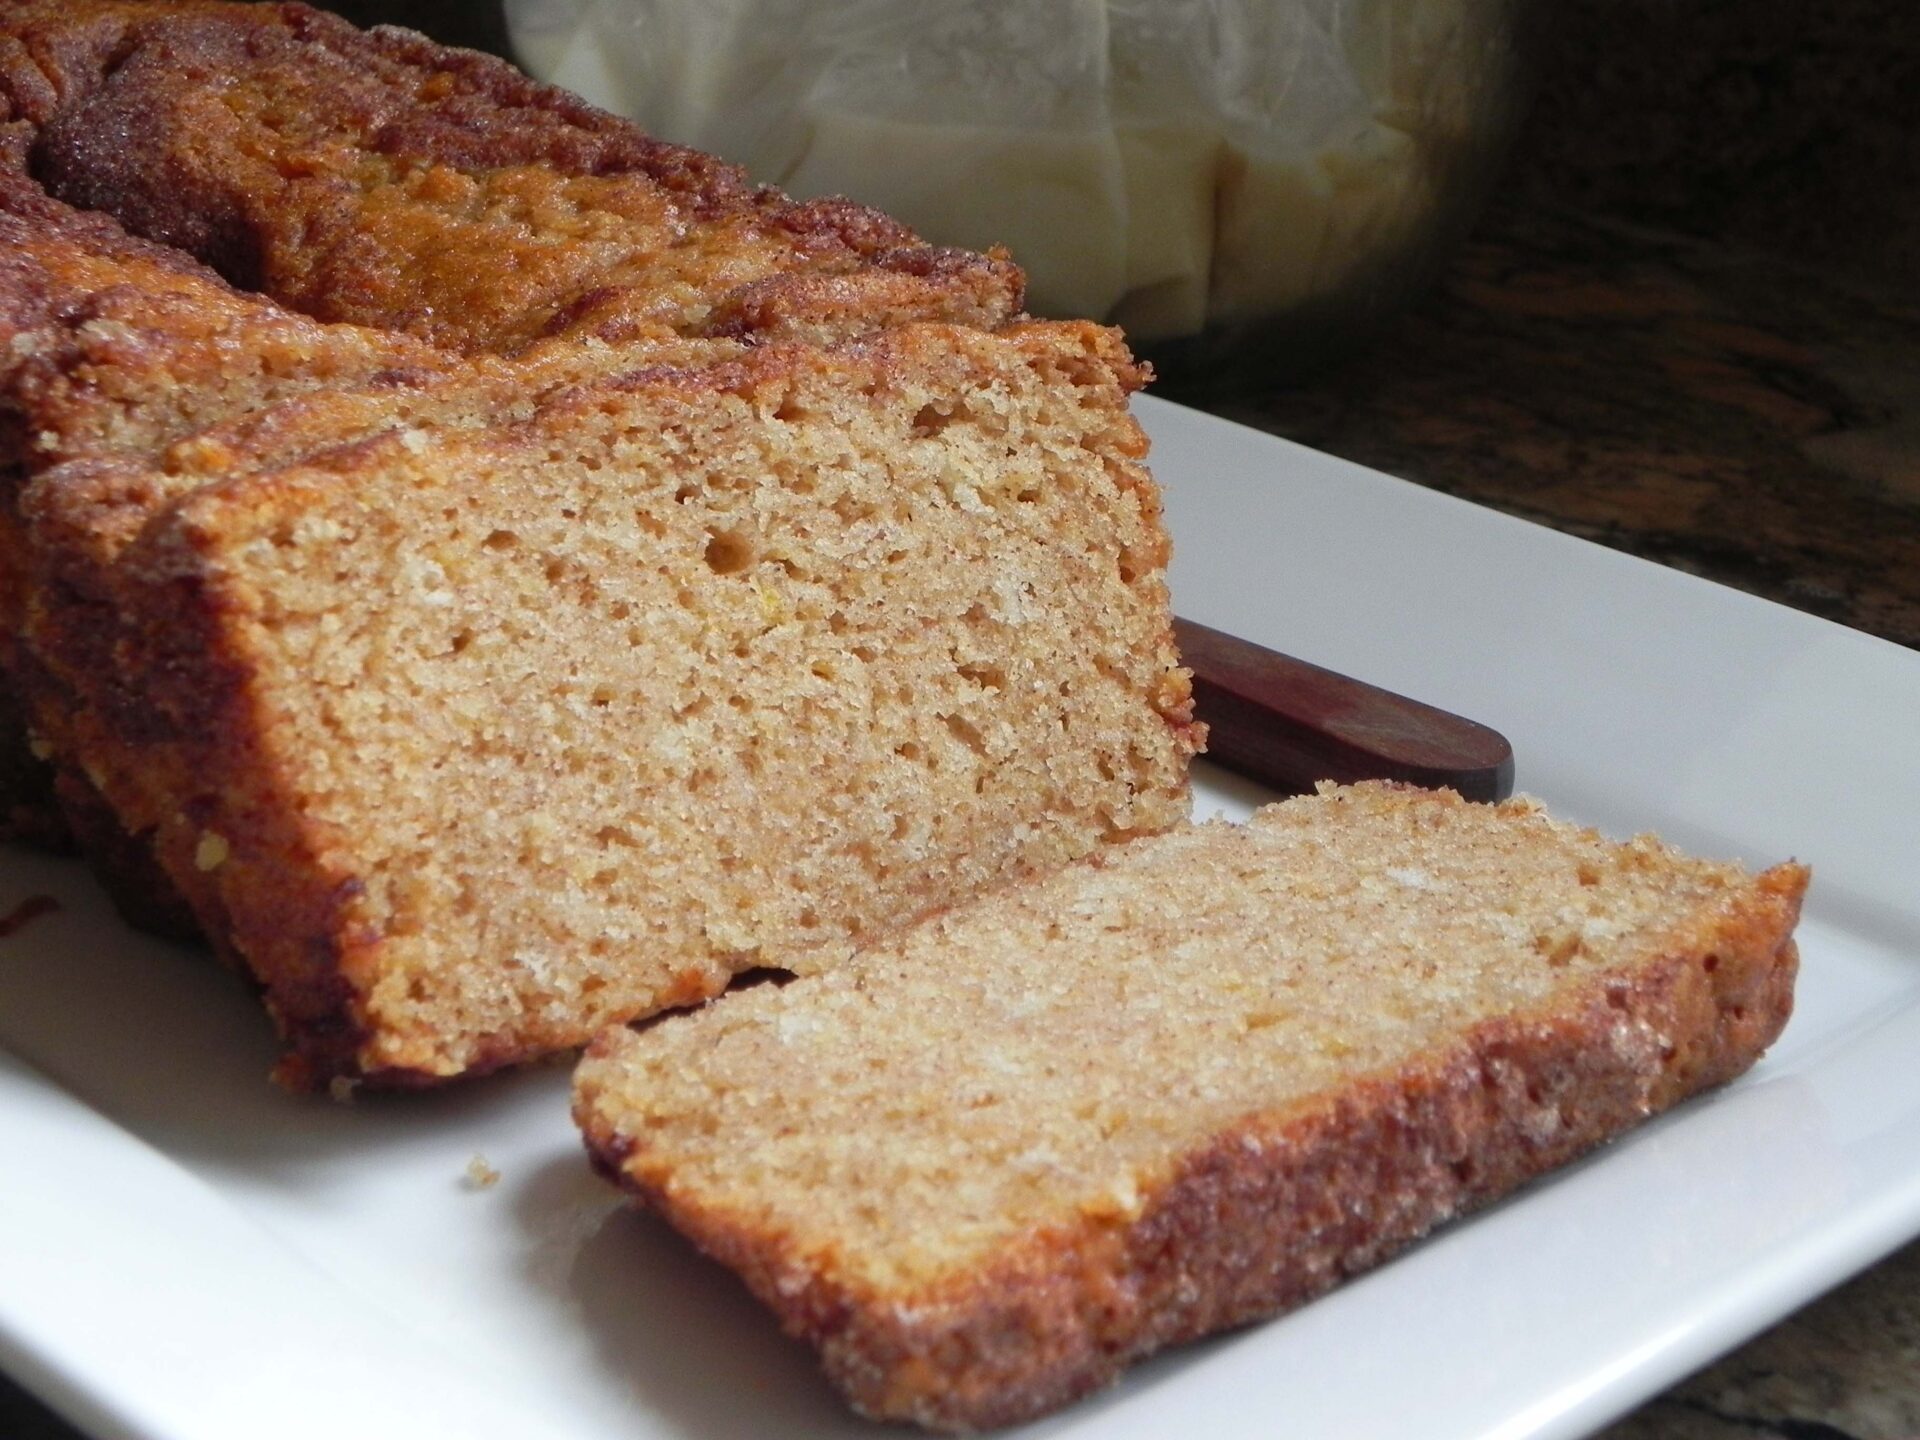
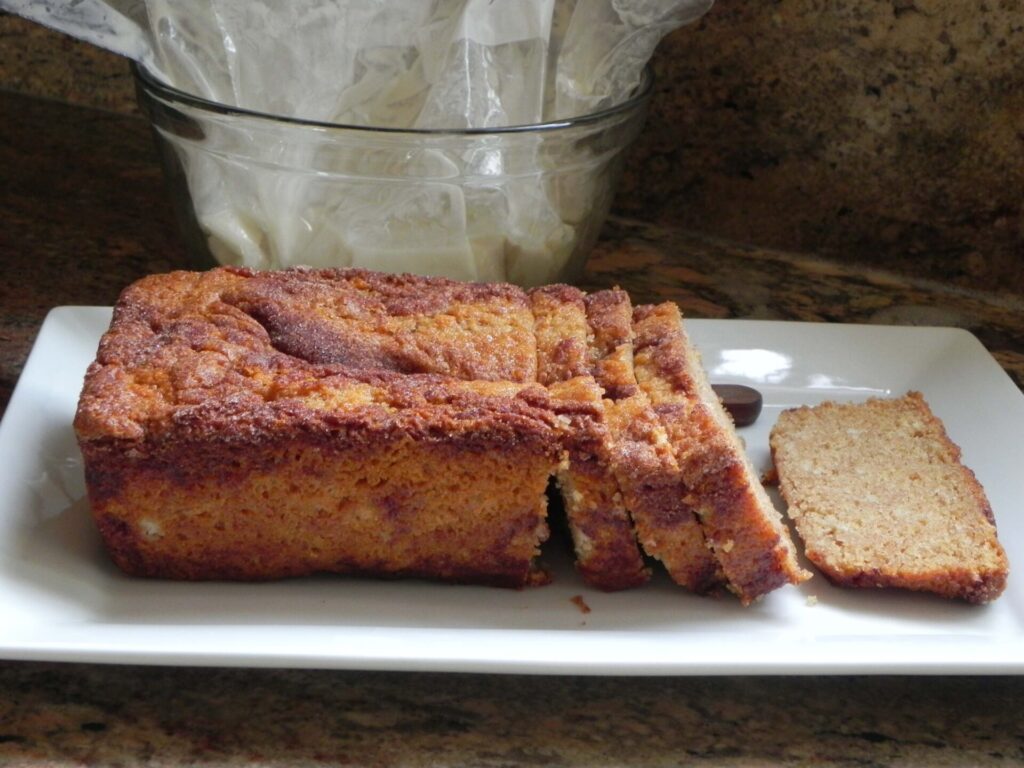
Here’s the basic recipe. Many cooks have created variations of the bread by omitting the cinnamon, and adding ingredients such as chocolate chips or berries and fruits. Some versions omit the instant pudding mix, but I like it — the pudding mix helps maintain the moistness and even texture in this cake-like bread.
Try your own variations and let us hear from you.
AMISH FRIENDSHIP BREAD STARTER
1 (0.25-oz) pkg of active dry yeast
1/4 c warm water (105-110˚F)
1 c all-purpose flour
1 c white granulated sugar
1 c whole milk
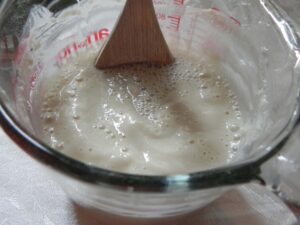
Dissolve yeast in a small bowl or cup containing the warm water. Allow to stand for 10-15 minutes, until the yeast has “proofed.”
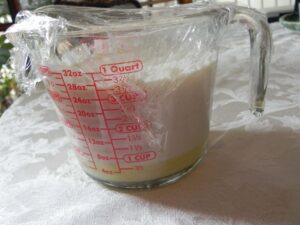
Combine the flour and sugar in a 2-qt glass container. (I used a 1-QT Pyrex measuring cup.) Whisk in the sugar and slowly stir in the milk, followed by the proofed yeast mixture.
Cover loosely with plastic wrap and let stand at room temperature nestled in the towel (top unfettered by towel). This is Day 1 of the first 10-day cycle.
On Days 2, 3 and 4, use wooden spoon or spatula to stir the mixture once daily, at the same time of day.
Day 5:
1 c sugar
1 c self-rising flour
1 c whole milk
On Day 5, add the sugar, flour and milk, stirring with the wooden spoon or spatula. Keep loosely covered with plastic wrap. NOTE: The 2-qt Pyrex dish was half full, and allowed space for expansion.
 On Days 6, 7, 8, and 9, use wooden spoon or spatula to stir the mixture once daily, at the same time of day.
Day 10:
1 c sugar
1 c self-rising flour
1 c whole milk
On Day 10, scrape mixture into a large glass or ceramic mixing bowl. Add the sugar, flour and milk and stir gently until completely blended. Measure 3 cups of blended starter into heavy duty one-qt ziplock bags. Mark the date and note it as Day 1. Retain one bag and share the other two with friends.
Save remaining starter to use for your first batch of Amish Friendship Bread.
Continue Starter:
Day 1: Day you receive your cup of starter, or carry on the new starter
Day 2: Mash the bag, letting out air before mashing if needed
Day 3: Mash the bag
Day 4: Mash the bag
Day 5: Mash the bag
Day 6: Add to the bag 1 c self-rising flour, 1 c white granulated sugar, 1 c whole milk. Mash the bag.
Day 7: Mash the bag
Day 8: Mash the bag
Day 9: Mash the bag
Day 10: Scrape mixture into a large glass or ceramic mixing bowl. Add 1 c sugar, 1 c self-rising flour, 1 c whole milk, and stir gently until completely blended. Measure 3 cups of blended starter into heavy duty one-qt ziplock bags. Mark the date and note it as Day 1. Retain one bag and share the other two with friends.
AMISH FRIENDSHIP BREAD
1/2 c white granulated sugar
1-1/2 tsp ground cinnamon
Nonstick cooking spray
Starter (should be a bit more than a cup)
3 large eggs
1 c oil (canola or extra light olive)
2/3 c whole milk
1 c white granulated sugar
2 tsp ground cinnamon
1/2 tsp vanilla extract
2 c self-rising flour
Large box or two (3.34-oz) boxes of vanilla instant pudding (or other flavors)
Preheat oven to 350˚F.
Combine first sugar and cinnamon, whisking to blend. Divide in half and set one-half aside. Divide remaining half again into half. Grease two loaf pans with nonstick cooking spray, and dust each with the halved cinnamon-sugar mixture.
Combine the starter with eggs, oil and milk in large glass or ceramic mixing bowl. Add in the sugar, cinnamon, vanilla, flour and pudding mix until completely mixed without lumps. Measure the batter evenly into the two loaf pans. Sprinkle remaining cinnamon-sugar half over the two loaves.
Bake both pans on middle rack for about 1 hour. Do not remove early, or center will collapse. Cool n rack until bread will release from pan with shaking (about 10-015 minutes). Turn each loaf onto serving plate to continue cooling. Allow to cool completely before wrapping. This bread is perfect for freezing.
[box style=”0″]
IN DOUBT? TEST THE YEAST.
To proof-test your yeast for activity, in a large measuring cup, add 1 tsp sugar to 1/4 c warm water at 105-110˚F (measure the temperature). Stir in 2-1/4 tsp yeast. Allow to stand for 10 minutes. If yeast foams to the half-cup mark, it is active enough to use. If it doesn’t foam, or foams little, the yeast probably is not active enough to use. NOTE: Too-hot water will kill the yeast, and too-cold water will not promote its activation. (Think Goldilocks…)
[/box]
Laurie Triplette is a writer, historian, and accredited appraiser of fine arts, dedicated to preserving Southern culture and foodways. Author of the award-winning community family cookbook GIMME SOME SUGAR, DARLIN’, and editor of ZEBRA TALES (Tailgating Recipes from the Ladies of the NFLRA), Triplette is a member of the Association of Food Journalists (AFJ),Southern Foodways Alliance (SFA) and the Southern Food and Beverage Museum (SOFAB). Check out the GIMME SOME SUGAR, DARLIN’ web site: www.tripleheartpress.com and follow Laurie’s food adventures on Facebook and Twitter (@LaurieTriplette).


